Last Saturday, a neighbor pulled into my driveway with a clean 2018 Tacoma and a phone full of dark, crooked pictures. The truck looked ordinary on screen. In person, the paint was straight, the tires were decent, and the interior smelled like somebody had cared. He did not need a studio. He needed the right car photography equipment and five minutes of patience. That is the part people miss. A buyer is not judging your camera collection. They are judging whether your pictures make the vehicle look honest, cared for, and worth calling about.
Start with the camera you already own
Your phone is the best starting point because it is usually with you, focuses quickly, and handles exposure better than a cheap older camera. A recent iPhone, Google Pixel, or Samsung Galaxy can produce listing photos that look professional when the light is right. Clean the lens first. That sounds silly until you see the greasy haze around a phone camera after it has lived in a cup holder for six months.
Use the regular one-times lens instead of the ultra-wide setting. Ultra-wide photos make the front bumper look huge and stretch the sides of the vehicle. That can make a normal sedan look damaged or oddly shaped. Hold the phone at about chest height, keep it level, and leave space around the car. Your first purchase in car photography equipment should be a sturdy phone tripod, usually $25 to $60, not a $1,500 camera body.
A tripod helps when you need consistent angles or a longer exposure in a shaded garage. A Bluetooth shutter remote costs roughly $8 to $15 and keeps your hand from shaking the phone. If you are photographing a $12,000 used car, spending $40 to keep the pictures sharp makes more sense than spending $400 on a lens you cannot use properly.
Light matters more than the logo on the camera
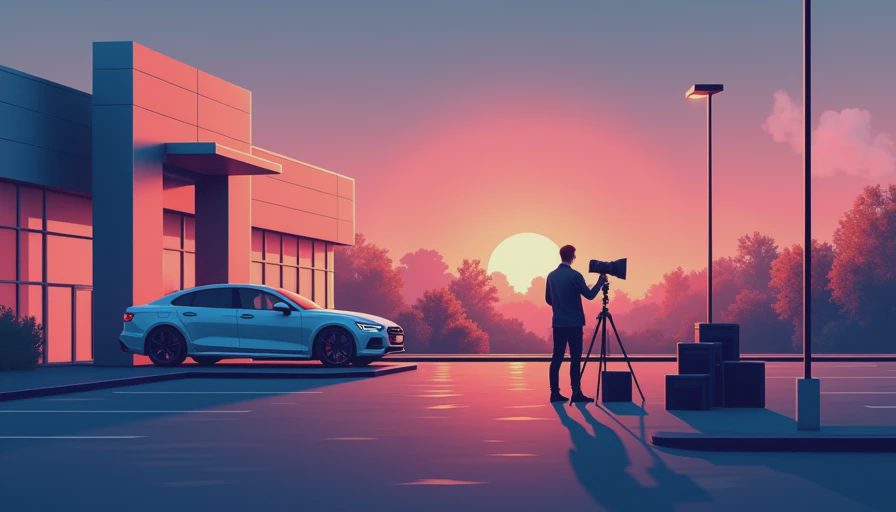
Shoot in open shade, such as the edge of a parking lot or the side of a building. Direct noon sunlight creates bright white reflections on the hood and black shadows inside the cabin. Open shade gives you softer light and lets the body lines show. Early morning and the hour before sunset can work well, but avoid making the whole listing orange. The car still needs to look like the car.
A basic five-in-one reflector kit costs about $20 to $40. The white side can lift shadows along a dark door, while the silver side adds stronger light to a wheel or grille. You do not need a second person. Lean it against a light stand or use a sandbag. For indoor work, a pair of LED panels with adjustable brightness typically costs $80 to $180. Look for panels with a color temperature control so the paint does not look blue beside a yellow garage bulb.
Do not point a flash directly at the windshield or a polished black hood. You will photograph yourself, the flash, and every dusty mark. Bounce the light off a white wall instead, or move outside. Good car photography equipment controls reflections; it does not simply make the scene brighter.
The small tools that make details look trustworthy
A clean microfiber kit belongs in the same bag as your camera. Use separate towels for glass, wheels, and painted surfaces. A $15 bottle of automotive glass cleaner and a few clean towels can improve a windshield photo more than a new lens. Wipe the dashboard, remove paperwork from the seats, and take out the fast-food bag before you start. Buyers notice clutter because clutter suggests neglected maintenance.
For close-ups, a small LED flashlight priced around $15 to $35 helps show tire tread, paint chips, service stickers, and VIN labels. Keep the light at an angle instead of aiming it straight at the surface. Side lighting reveals scratches without making them look worse than they are. A folding gray card can help your phone expose a white SUV correctly, but it is optional. Your hand can often shade the lens while you tap the paint on screen.
A circular polarizing filter can reduce reflections on some cameras, and phone filter systems are available for around $30 to $100. They are useful near glass and bright paint, but they are not magic. Rotate the filter while watching the screen. If the windshield suddenly looks flat and the sky turns darker, you found the useful position.
Build a photo set buyers can understand
The best car photography equipment cannot rescue a confusing set of pictures. Photograph the front three-quarter angle first, then the rear three-quarter angle, both sides, the front and rear, wheels, tires, dashboard, front seats, rear seats, cargo area, and engine bay. Add close-ups of damage instead of hiding it. A buyer who sees a $300 bumper scrape in the listing is less likely to waste your time than a buyer who discovers it after driving across town.
Keep the camera at the same height for exterior angles. Turn the wheels slightly toward the camera for a parked front view, but straighten them for the side profile. Leave the license plate visible unless you have a specific privacy reason to blur it. Do not alter the paint color, remove warning lights, or use a heavy filter. Brightening a dark photo is reasonable. Making worn tires look new is not.
If you are shooting for an online marketplace, take at least 20 usable photos and select the clearest 12 to 18. Put the strongest image first. A crooked driveway shot should not be the thumbnail when you have a clean front corner photo available.
Spend the money in the right order
Here is the purchase order I would use after years of watching people spend money backward. First, buy a phone tripod and remote for $35 to $75. Second, buy towels and glass cleaner for about $20. Third, add a small LED light for detail work. Fourth, consider a reflector. Only after you have practiced should you consider a dedicated camera.
A used mirrorless camera from Sony, Canon, Nikon, or Fujifilm can cost $400 to $900 with a basic lens. That can produce excellent results, but it also adds batteries, memory cards, file transfers, and editing time. For most private listings, the phone wins because you will actually use it. Car photography equipment should remove friction, not create another hobby.
If you do buy a camera, choose a standard zoom lens rather than an extreme wide-angle lens. A lens around 24 to 70 millimeters on a full-frame system gives you useful exterior perspectives without cartoonish distortion. Learn exposure and composition before buying a $2,000 lens. The receipt is not the result.
A five-minute check before you publish
Walk through the photos on your phone as if you were a skeptical buyer. Can you see the tire tread? Is the mileage readable? Are the seats, cargo area, and dashboard included? Does the car look the same color in every image? Is damage shown clearly? Delete duplicates and blurry frames. Rename nothing unless the marketplace requires it, but write a straightforward caption for unusual features such as a replacement transmission, fresh tires, or two keys.
Then compare your first image with other listings. If your vehicle is a $9,500 Civic, a clean driveway and sharp pictures can make it compete with a dealer listing that has professional equipment. You are not trying to make a used car look new. You are trying to remove doubt.
That is the whole job. Buy the tripod, clean the lens, find open shade, and photograph the flaws before a buyer has to ask. Next time you sell a car, spend your first $50 on useful car photography equipment, not a gadget with a promise printed on the box. I told you what they told me to say. Now you know.

No letters yet — pray write the first.