Last Saturday, a neighbor backed his black Tacoma into my driveway and asked why his online listing looked like it had been taken through a dirty fishbowl. The truck was clean. The photos were not. That is where automobile photography techniques earn their keep. You do not need a $2,000 camera or a studio. You need decent light, a clean lens, and enough patience to walk around the vehicle before pressing the button.
I spent twelve years selling cars, and I watched good vehicles lose buyers because the pictures hid curb rash, made the cabin look dark, or showed a salesman reflected in the door. A buyer assumes the missing detail is bad news. Here is how to make the car look accurate, appealing, and worth a closer look.
Start with the car, not the camera
The first of these automobile photography techniques is boring preparation. Wash the exterior, clean the glass, remove floor mats, and empty the cupholders. You do not need a professional detail. A $12 wash, a microfiber towel, and ten minutes with glass cleaner can change the entire result.
Move the car away from a crowded driveway. Park near an open wall, quiet lot, or clean stretch of pavement. Look behind the vehicle before taking pictures. Trash cans, bright signs, loose hoses, and another car fighting for attention all become part of the image.
Turn the wheels slightly toward the camera for a front three-quarter shot. That small angle shows the grille, headlight, side profile, and front wheel together. Keep the steering wheel straight for direct front and interior images. Buyers want to see the actual condition, not a dramatic pose that hides the tire wear.
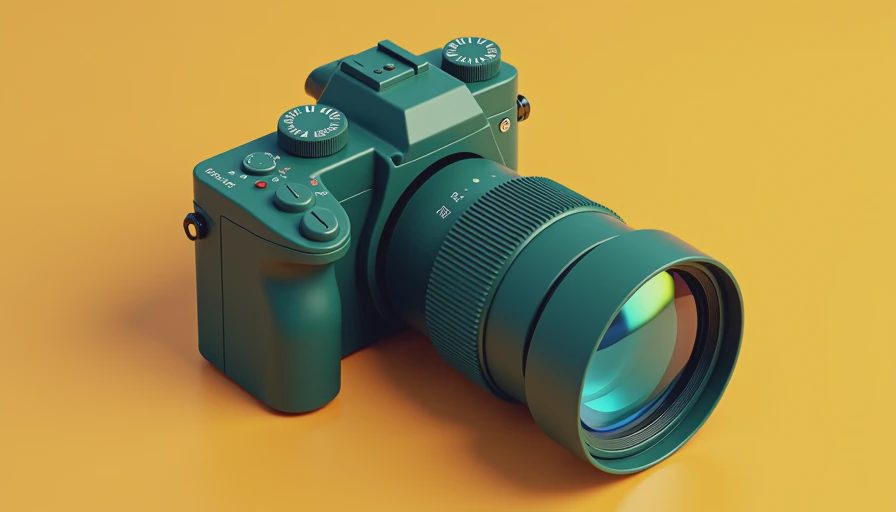
Your phone lens matters more than the phone brand. Wipe it with a soft shirt or lens cloth. Do not use the wide-angle setting unless you understand what it does. Wide lenses stretch the nearest bumper and make the car look oddly shaped.
Use light that shows the paint
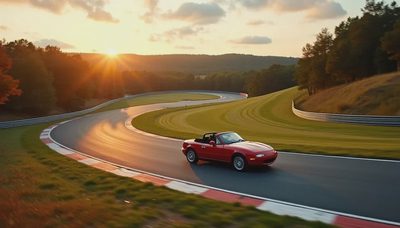
Good automobile photography techniques usually begin early or late in the day. Direct noon sunlight creates hard reflections, deep shadows, and white patches across the hood. Morning and late afternoon light is softer. If the sky is cloudy, that can work even better because the clouds act like a giant diffuser.
Put the sun behind you or slightly to one side. If you point directly into it, the car becomes a dark silhouette. If the sun sits directly behind your head, your reflection may appear in the paint. Shift a few steps left or right until the reflections run cleanly along the body.
Watch bright paint carefully. White and silver cars can lose body lines when the exposure is too bright. Tap the screen on the hood, then lower the exposure slightly. For a black car, tap the darker door area and raise exposure just enough to show the panel without turning the sky gray.
Take the first image from about waist height. Then crouch slightly for a stronger front angle. Do not lie on the pavement unless you enjoy explaining that choice to your neighbors. The camera should show the car at a natural height, not from the perspective of a child or a drone.
Build a complete photo set
A useful listing needs more than one hero shot. Use automobile photography techniques to create a record a buyer can trust. Start with the front three-quarter view, then take the rear three-quarter view, both sides, front, rear, wheels, tires, windshield, and roof. Keep the camera level and leave a little space around the vehicle.
For the interior, open every door and use the same light. Photograph the dashboard with the engine off, then capture the odometer, infotainment screen, front seats, rear seats, cargo area, and floor. If the vehicle has a warning light, show it. Hiding it only creates a worse conversation later.
Take close-ups of scratches, dents, chipped paint, torn upholstery, wheel rash, and rust. The honest image saves time. A buyer who sees a $180 bumper scrape before driving over is more useful than three people who arrive expecting perfect paint.
For a vehicle sale, shoot in landscape orientation when the website displays wide images. Use portrait images only when the platform requires them. Do not upload screenshots from messaging apps. Compression can make clean paint look blotchy.

Fix reflections without making the car fake
Reflections are part of automobile photography techniques because a car is a curved mirror. You will see your house, your shirt, utility poles, and sometimes your own face in the doors. Move yourself instead of trying to edit everything later. A step sideways can remove a garage door reflection from the entire quarter panel.
Use a circular polarizing filter if you have a camera that accepts one. It can reduce glare on glass and paint, but it will not perform magic on every angle. Turn the filter slowly and watch the windshield. You want to reveal the dashboard without making the glass look unnaturally dark.
Avoid heavy filters, fake sky replacements, and aggressive sharpening. A car listing is not a movie poster. If the paint is actually blue-gray, do not process it until it looks electric blue. The same rule applies to mileage displays and damage: editing should clarify, not conceal.
Camera settings and simple editing
You can get strong automobile photography techniques from a phone using a few manual habits. Turn on the grid so vertical buildings and the car's beltline stay straight. Tap to focus on the nearest important detail. Hold the phone steady with both hands, and take three versions of each angle. One will usually have a reflection, blink, or passing vehicle you missed.
Use the phone's normal one-times camera first. The two-times setting often gives a cleaner portrait of a wheel or interior detail. The ultra-wide setting is useful for a cramped back seat, but stand back whenever possible because it can exaggerate the edges.
Edit the crop, brightness, highlights, and shadows. Spend two minutes, not twenty. A practical sequence is crop first, straighten second, lower highlights third, and raise shadows last. Compare the edited image with the original before saving. If the edited version makes the vehicle look newer than it is, back off.
The photo checklist I would use
Before posting, walk around the vehicle with this short automobile photography techniques checklist. Confirm that the lens is clean. Check that the first image shows the whole car. Make sure the odometer is readable. Include the tires, cabin, cargo space, keys, and any flaws that cost real money to fix.
Look at the background in every frame. Remove license plates only if privacy matters to you, and do it consistently. Keep the images in the same color and exposure range. Put the best front three-quarter image first, because that is the picture that earns the next click.
If you are buying rather than selling, ask for these exact images before driving across town. A seller who cannot show the tires, dashboard, interior, and damaged areas may have a reason. You are not being difficult. You are trying to prevent a $400 afternoon and a tank of gas from turning into disappointment.
I told you what they told me to say. Now you know. Clean the lens, find open shade, photograph the flaws, and show the odometer before you publish anything. Next time you list or inspect a car, ask to see the line, panel, and tire that the pretty picture leaves out.
No letters yet — pray write the first.