Last Saturday, a guy pulled into my driveway with a clean 2017 Mustang and a camera bag that cost more than the car's last set of tires. He had three lenses, two flashes, and no idea why the Mustang looked crooked in every picture. The camera was not the problem. He needed the right camera lens for car photography and a little room to back up.
That is the part camera stores sometimes skip. A lens is not good because it costs $2,000. It is good because its focal length fits the space, its perspective fits the car, and it lets you show the paint without making the hood look like a bus. You can get strong results with a $300 to $700 lens if you buy for the job instead of the sales pitch.
Start with the shooting space
Before choosing glass, look at where you actually photograph vehicles. A driveway, dealership lot, garage, and mountain road give you different problems. In a tight driveway, a 50mm lens on a full-frame camera can leave you standing in the street to capture the whole vehicle. On a crop-sensor camera, that same lens feels even tighter.
For full-frame cameras, a 24mm to 35mm lens is the useful starting range for exterior photos. A 24mm lens can show a complete SUV in a narrow space, while 35mm usually gives a more natural shape. Go much wider than 20mm and the near corner of the car can grow noticeably larger than the far corner. That dramatic look works for a social post, but it can make a compact sedan look oddly stretched.
On a crop-sensor Canon, Nikon, Sony, or Fujifilm body, a 16mm to 23mm lens often gives a similar field of view. The model name matters less than the sensor size and the actual focal length. Write those two details down before you shop.
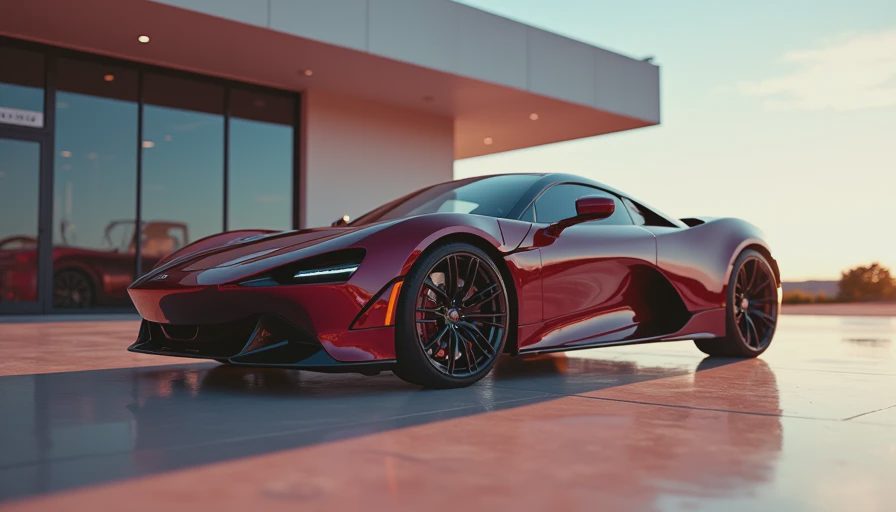
A zoom lens is often the practical answer for a working photographer. A 24-70mm lens lets you make a wide three-quarter shot, then move to 50mm or 70mm for a cleaner side profile without changing lenses in a dusty lot. Sigma, Tamron, Canon, Nikon, and Sony all make versions that can produce sharp results. You do not need the most expensive badge on the barrel.
The focal lengths that make cars look right
A 35mm lens is my favorite starting point for a camera lens for car photography because it gives you enough width for a full vehicle while keeping proportions believable. Stand several feet back, keep the camera level, and the car generally looks like the car sitting in front of you. That matters for online listings, where buyers want to judge condition rather than admire a distorted hood.
A 50mm lens is useful for details and less crowded locations. It can show a front quarter panel, wheel, grille, or interior without the exaggerated perspective of a very wide lens. A 50mm f/1.8 prime from Canon, Nikon, or Sony often sells for roughly $150 to $300. It is one of the rare pieces of camera equipment that can be inexpensive and genuinely useful.
An 85mm lens is better for detail work and portraits of a car against a soft background. It compresses the scene, so a row of trees or a brick wall appears closer behind the vehicle. That can make a classic car look substantial. It is not the first lens I would buy for a cramped garage, though. You need distance, and distance is what most driveways do not have.
Aperture, reflections, and the paint problem
A wide aperture such as f/1.8 sounds attractive because it creates a blurred background. For a full-car photo, it can create a different problem: the front badge is sharp while the rear quarter panel is soft. Cars are long objects. You often need f/5.6 to f/8 to keep the important surfaces clear, especially when photographing at an angle.
That means you should not choose a camera lens for car photography based only on its widest aperture. Look for edge sharpness, manageable distortion, and a hood that blocks stray light. A lens with a bright f/2.8 aperture is useful in a dim garage, but an f/4 zoom can be plenty for daylight listing photos and may cost hundreds less.
Reflections are the other fight. A shiny black hood reflects the sky, your shirt, and the neighbor's trash can with impressive honesty. A circular polarizing filter can reduce some glare and deepen the sky, but it also cuts light and does not erase every reflection. Rotate it while looking through the viewfinder. If nothing changes, you bought the wrong filter size or mounted it incorrectly.
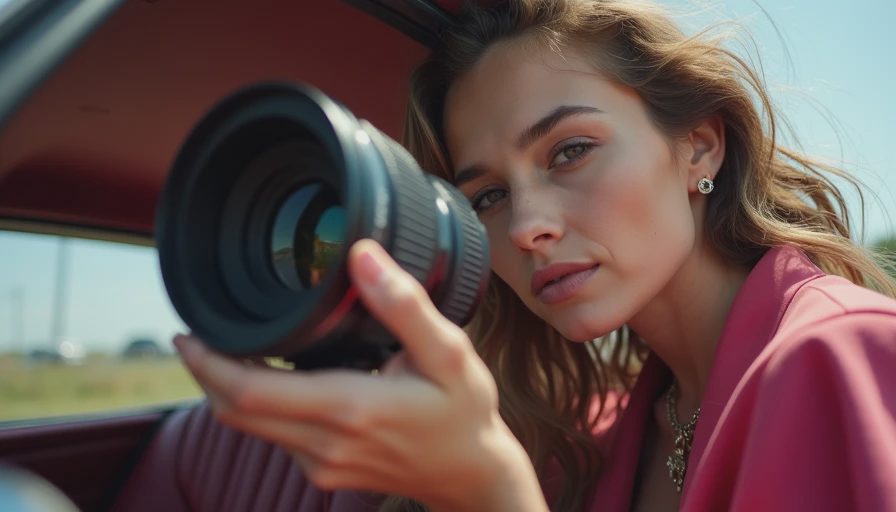
Prime versus zoom: where the money goes
A prime lens has one focal length. It is often smaller, brighter, and sharp for the price. A 35mm f/1.8 or 50mm f/1.8 can be a smart first purchase if you have time to move your feet. For a photographer selling a few cars each month, that simple setup can handle exterior angles, interior shots, and detail photos without a complicated bag.
A zoom gives you speed. You can stand in one spot and adjust framing when a curb, fence, or parked truck blocks your path. A 24-70mm f/2.8 zoom may cost $700 to more than $2,000, depending on the mount and brand. A slower 24-70mm f/4 or 24-105mm f/4 often costs less and weighs less. In bright daylight, that tradeoff is easy to live with.
Used equipment can lower the bill. Inspect the front and rear elements under a phone flashlight, check for fungus or haze, and make sure the autofocus does not grind or hunt. A few dust specks inside a used lens are usually less serious than fungus, deep scratches, or a loose zoom ring. Buy from a seller with a return period when possible.
A simple setup for different budgets
If you already own a crop-sensor camera, start with a kit zoom and learn where its distortion becomes distracting. Then consider a 16-50mm or 17-50mm zoom for wider vehicle coverage. A reasonable working budget is $300 to $700 for a lens that improves framing without turning the project into a gear collection.
With a full-frame camera, a 24-70mm zoom is the flexible choice. If money is tight, a 35mm f/1.8 prime can cover most exterior work for closer to $300 to $600. Add a circular polarizer and a sturdy microfiber cloth before buying a second lens. Clean glass and controlled reflections will improve a photograph faster than a luxury lens sitting in the bag.
For auction or dealership listings, a 24mm to 35mm lens provides room for the whole vehicle. For rolling shots, stabilization can help, but your shutter speed and safe shooting position matter more. Do not hold a camera out of a moving car window just to get a dramatic angle. No photograph is worth a wreck.
The mistakes that make a good lens look bad
The first mistake is standing too close. Back up and use a longer focal length when you can. The second is pointing the camera down at the car. Keep the camera around shoulder height or slightly lower, and keep vertical lines straight. The third is shooting every angle at the same distance. Move around the vehicle and compare the front corner, side profile, rear quarter, wheels, and interior.
The fourth mistake is buying more lens before learning light. Photograph early or late in the day when the sun is softer. Turn the car until the reflection runs cleanly along the body. If the background is ugly, changing a 35mm lens for a 24mm lens will not fix it. Move the car, change your position, or wait ten minutes.
The right camera lens for car photography is the one that lets you frame the vehicle in your real locations while keeping its proportions honest. Start with 35mm, 24-70mm, or the crop-sensor equivalent, then add specialty glass only after you can name the problem it solves. Before you buy, write down your camera body, smallest shooting space, typical distance, and budget. Take that list to the next retailer and ask which lens fits those facts. I told you what they told me to say. Now you know.
No letters yet — pray write the first.