Last Saturday, I watched a neighbor photograph his new Tacoma in the driveway. He had a nice camera, a clean truck, and the final pictures looked like they were taken through a dusty window. The problem was not the truck. It was the car photography settings. A few changes to shutter speed, aperture, ISO, and the shooting angle would have made those photos look like something from a dealership brochure instead of a listing made in a hurry.
You do not need a $3,000 camera to get good vehicle pictures. A phone, a steady hand, and decent light will carry you a long way. But you do need to understand what the camera is doing. Cars have glossy paint, curved panels, chrome trim, and dark windows. They show every mistake in exposure and reflection.
Start with the right light and location
The easiest car photography settings in the world cannot rescue a bad location. Move the vehicle away from a crowded driveway, overhead wires, trash cans, and patchy shade. A quiet parking lot, empty road, or clean section of your driveway gives the vehicle room to stand out.
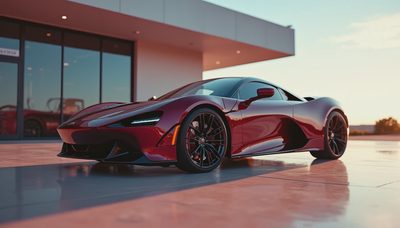
Shoot shortly after sunrise or during the last hour before sunset. That softer light creates long highlights across the hood and sides without producing the hard white spots you get at noon. An overcast day can work even better because clouds act like a giant softbox. The paint looks even, and you spend less time fighting reflections.
Park the car with the sun behind you and slightly to one side. Do not point the nose directly at the sun unless you want a silhouette. Walk around the vehicle first. Look at the doors, windshield, and hood as mirrors. If you can see yourself clearly in the paint, move a few steps or change your angle before pressing the shutter.
For a basic camera, useful car photography settings begin at ISO 100, an aperture around f/5.6, and a shutter speed near 1/250 second in daylight. Those numbers are a starting point, not a magic recipe.
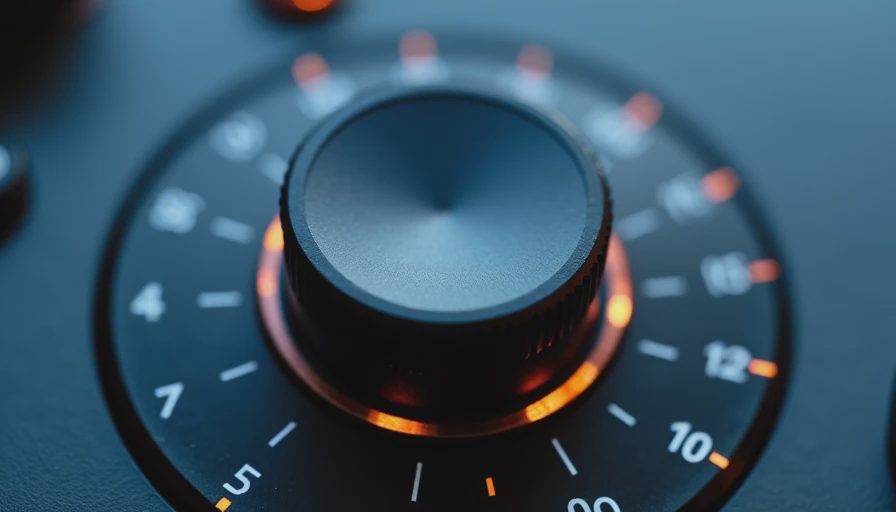
Camera settings for sharp exterior photos
Use aperture priority mode if your camera has it. On Canon, Nikon, Sony, and Fujifilm cameras, this is commonly marked A or Av. You choose the aperture, and the camera selects the shutter speed. It is a practical setup when clouds keep moving or you are walking around the car.
For one complete exterior photo, try f/5.6 to f/8. That range keeps the front quarter panel, windshield, and much of the side reasonably sharp. If the camera chooses a shutter speed below 1/125 second, raise the ISO or use a tripod. A blurry photo cannot be fixed by sharpening software.
For a wheel, badge, headlight, or interior detail, open the aperture to f/2.8 or f/4 if your lens allows it. This creates background blur and directs attention to the part you want people to notice. Do not use f/1.8 automatically. Extremely shallow focus can leave half of a headlight soft, especially when you are close.
A shutter speed of 1/250 second is a safe starting point for a parked vehicle. Use 1/500 or faster if you are photographing a moving car or handholding a long lens. Image stabilization helps with camera movement, but it does not freeze a vehicle that is driving past you.
Keep ISO low when there is enough light. ISO 100 or 200 preserves clean color and fine paint detail. At dusk, ISO 400 to 800 can still produce useful files. Higher settings create noise in black paint and shadow areas, so add light or use a tripod before pushing ISO too far.
Angles that make a normal car look expensive
Most people stand at eye level and take a picture straight at the driver side. That is the fastest way to make a good car look ordinary. Lower the camera to about headlight height and turn the front wheels slightly toward the camera. A three-quarter front view shows the grille, wheel, hood, and side in one frame.
Leave space in front of the car rather than behind it. If the vehicle points left, give it more open space on the left side of the image. That makes the composition feel intentional. Shoot a few versions from a low angle, then raise the camera slightly for a more natural perspective.
Keep vertical lines straight. Tilting the camera too far can make the vehicle look like it is sliding uphill. A wide lens can also stretch the front bumper when you stand too close. Step backward and zoom in slightly if you have room. The shape will look more honest.
For a used-car listing, photograph the front, rear, both sides, roof, wheels, tires, dashboard, seats, cargo area, and odometer. Include flaws. A $400 scratch is cheaper to explain before a buyer drives across town than after they arrive angry.
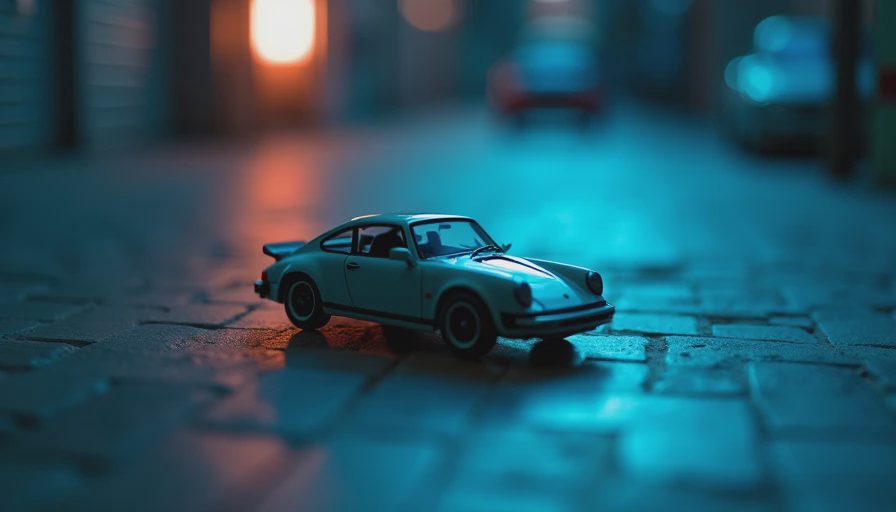
Car photography settings for night and motion
Night photos need a different approach. Put the car somewhere safe with a clean background and use a tripod. Start around ISO 100 or 200, f/8, and a shutter speed between two and ten seconds. Set a timer so touching the camera does not shake the frame. Turn on the parking lights if they improve the shape, but avoid bright headlights aimed directly at the lens.
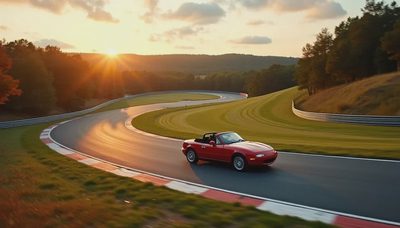
For moving shots, choose manual exposure if you are comfortable with it. Try 1/60 to 1/125 second and pan with the vehicle as it passes. The car can stay relatively sharp while the background blurs. This takes practice. Use a safe roadside location, obey traffic rules, and never stand in a travel lane for a picture.
If you are using a phone, tap the vehicle on screen, lower exposure slightly, and hold the phone level. Phones often make bright paint look washed out. A small exposure reduction keeps the highlights under control. Clean the lens first. Finger grease causes a soft haze that looks like bad car photography settings, even when the phone is fine.
Edit carefully, then check the final file
Editing should correct the photograph, not redesign the car. In Lightroom, Google Photos, Snapseed, or similar software, begin with exposure, highlights, shadows, and white balance. Reduce highlights if the hood is glowing white. Lift shadows enough to show the tire and grille, but do not turn a black car gray.
Straighten the horizon, crop out distractions, and add modest contrast. Watch the color of the paint. A white vehicle should not become blue because the camera was set to a cool white balance. Remove small dust spots if you like, but disclose dents, rust, curb rash, and cracked glass in a sales listing.
Export a full-size file for storage and a smaller copy for the listing. Keep the original photographs. They document the vehicle’s condition and can help if a buyer later claims a defect was hidden. Good pictures are useful records, not just decoration.
A simple driveway checklist
Before shooting, wash and dry the car, clean the glass, remove floor mats if they are dirty, and turn the wheels slightly. Walk through the background and move anything distracting. Set ISO 100 or 200, choose f/5.6 to f/8 for exterior shots, and confirm the shutter speed is at least 1/125 second.
Take a front three-quarter image, rear three-quarter image, side profile, wheel close-up, interior view, and odometer photo. Review each image at full size before leaving. Check reflections, focus, plate numbers, and the edges of the frame. Retake anything soft or cluttered.
The best car photography settings are the ones you can repeat. Start in soft light, keep the camera steady, and change one control at a time. Next time you photograph your vehicle, take ten minutes to compare ISO 100 with ISO 800 and f/5.6 with f/8. The difference will be obvious on the hood. I told you what they told me to say. Now you know.
No letters yet — pray write the first.