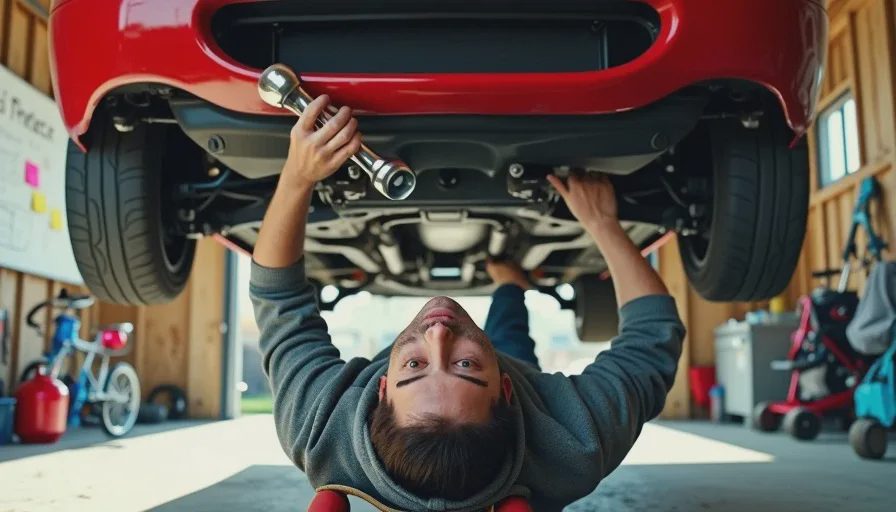
What the forum posts don’t tell you about a header install is that you’ll spend the first two hours on your back, staring at a rusted exhaust manifold bolt, wondering if the previous owner welded it in place out of spite. The install guide said three hours. It was written by someone who’d clearly never worked on a 30-year-old Miata in an Alabama garage in August. My Saturday went off the rails by 9:17 a.m., when the first bolt rounded off so cleanly I could’ve used it as a ball bearing. Here’s exactly what happened, what I did wrong, and the one thing that actually worked.
The Plan vs. Reality
The plan was simple. Install a Raceland 4-2-1 stainless header on my 1994 NA Miata. I’d watched the YouTube videos. I’d read the Miata.net garage article twice. I had every tool laid out on the workbench: 14mm deep socket, 6-point wrenches, a new exhaust manifold gasket, and a can of PB Blaster I’d been soaking the bolts with every night for a week. Jenn took the kids to Lily’s soccer game at 9 a.m. and said, “You’ll be done by lunch, right?” I said yes. I was not done by lunch.
What the Forums Say vs. What Happens
The forum consensus is that an NA header swap takes three to four hours, assuming nothing breaks. They say to use penetrating oil, work slowly, and don’t force anything. What they don’t mention is that after 30 years of heat cycling, the cast-iron manifold and the steel studs develop a kind of cosmic bond, a rust-welded relationship that no amount of Kroil can dissolve over a single week of nightly sprays. I had nine nuts to remove. Three of them came off. Three rounded. Two required a bolt extractor. And one — the one at the very back of the head, tucked behind the EGR pipe — sheared the stud clean off. I sat there on my creeper, staring at a flush-broken stud in the cylinder head, and contemplated my life choices.
The Stripped Bolt Playbook
Over the next four hours, I worked through every stuck-fastener technique I knew, and invented a couple more out of desperation. If you’re planning a header install on an older car, here’s the order of operations I should have followed from the start.
Step 1: Heat Is Your Best Friend
I started with a propane torch — the kind you use for sweating copper pipes — and got the manifold bolts cherry-red before I even put a socket on them. The one bolt I heated properly? Came off in two seconds with a satisfying crack. The ones I rushed because I was getting impatient? Those are the ones that stripped. Lesson: heat every bolt, no exceptions. The thermal expansion breaks the rust bond far better than any spray. I learned this the hard way after stripping the first bolt and then digging out the torch from the back of the garage shelf.
Step 2: The Bolt Extractor That Saved the Day
For the three nuts that rounded, I used a set of Irwin bolt extractors — the spiral-fluted kind that bite into the remaining metal as you turn counterclockwise. It took a 4-pound hammer to seat the extractor on the worst one, but it grabbed and spun the nut off. The key here is to hammer the extractor on fully. Halfway won’t cut it. I went through two sizes because I didn’t trust my hammer swing on the first try, and that cost me 20 minutes.
Step 3: The Sheared Stud — How I Didn’t Have to Drill
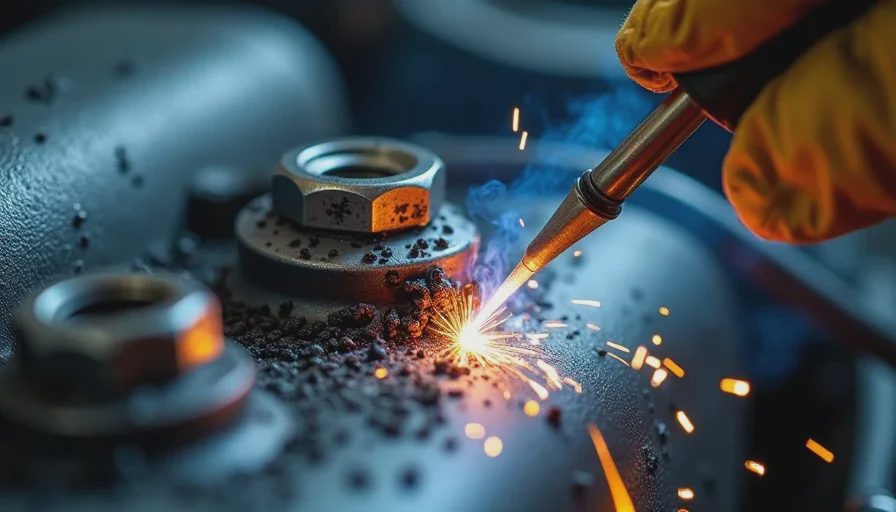
The broken stud at cylinder four was the low point. Drilling a stud out of an aluminum head is a fast track to a helicoil job I didn’t want. Instead, I tried something Reg mentioned once: weld a nut onto the remaining stud. I don’t own a welder, so I borrowed a cheap flux-core unit from a neighbor and practiced on a scrap bolt first. With the ground clamp attached to the engine block and a few tack welds, I got a 14mm nut fused to the broken stub. Then I let it cool for five minutes, soaked it again, and turned it slowly with a breaker bar. It moved a quarter turn, then came out clean. That one moment made the previous six hours feel like a victory.
The Patient Wife Report
Around hour four, Jenn came home from soccer. She walked through the garage, looked at me covered in rust dust and PB Blaster, the old manifold still on the engine, and said nothing. Ten minutes later, a plate with a turkey sandwich and a glass of sweet tea appeared on the toolbox. She didn’t ask how it was going. She just squeezed my shoulder and went inside to start lunch for the kids. That’s the difference between a wife who “puts up with” a project car and one who knows that a sandwich at the right moment is better than any advice. I ate it sitting on the creeper, and it was the best turkey sandwich I’ve ever had.
The Install: What Finally Went Right
Once the old manifold was off, the rest of the install took about 45 minutes. The new gasket lined up perfectly. I used anti-seize on every new stainless bolt (a lesson learned the hard way — never put stainless into aluminum without it). The Raceland header slipped in from underneath with the car on jack stands. I had to unbolt the steering rack and let it sag on a zip tie to get clearance, which added 15 minutes but saved me from removing the engine mount.
The First Start and the Leak I Missed
I torqued everything to spec, reconnected the EGR tube with a new gasket, and fired it up. The sound was immediate — a deeper, throatier idle, no more exhaust tick from the cracked factory manifold. Then I heard a faint puffing noise. Checked all the primaries with a piece of hose held to my ear and found a small leak at the collector flange. I’d tightened the three bolts unevenly. Loosened, re-centered the gasket, and tightened in a star pattern. Leak gone.
What This Install Cost Me (Beyond Dignity)
I track every part and tool on my build spreadsheet, even the ones I wish I hadn’t bought. Here’s the damage for the day:
Raceland header (used, from Facebook Marketplace): $140
Exhaust manifold gasket: $18
EGR tube gasket: $7
PB Blaster (two cans, because I was generous): $14
Propane torch fuel: $6
Irwin bolt extractor set (already owned, but let’s amortize): $3
Flux-core welder rental from neighbor: free, but I owe him a six-pack of Brake Dust IPA
Anti-seize compound: $8
Sweet tea and sandwich: priceless
Total: $196, plus a Saturday I’ll never get back.
Would I Do It Again?
Yes. Because the next time I’m at Barber, that header will flow just a little better above 5,000 rpm, and I’ll remember that I put it there — with my own hands, a borrowed welder, and a sandwich from my wife. If you’re about to tackle a header install on an old car, take my advice: heat every bolt, buy a good bolt extractor, and make sure someone in the house knows when to bring you a sandwich. What’s your worst stuck-bolt story? Tell me in the comments — I need to know I’m not alone.



No letters yet — pray write the first.