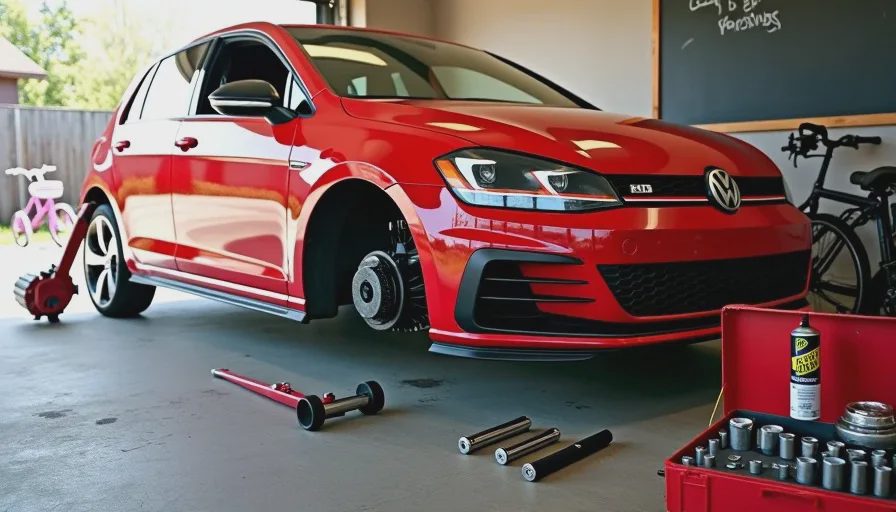
I installed a set of Bilstein B14 coilovers on my Mk7.5 GTI last spring. The job took seven hours, required one jack stand I borrowed from a neighbor, and was witnessed in its entirety by Lily (age 7) and Max (age 5). Max asked "why is that spring so angry" when I used a spring compressor. Lily asked if the car would be "lower like a race car" and then, five minutes later, if we could get ice cream. Both questions were equally important to the success of the project.
This is a coilover install DIY garage guide in the loosest sense of the word. It contains torque specs and the correct order of operations. It also contains what happens when your five-year-old hands you a 13mm socket instead of a 10mm and you don't notice for ten minutes. If you're looking for a clean, professional tutorial with studio lighting and a pristine workbench, there are YouTube channels for that. If you want to know what a suspension install actually looks like in a home garage with limited tools and unlimited questions from small children, keep reading.
Why Coilovers? Why Now?
The GTI had 62,000 miles on the original struts. The ride was fine — "fine" in the way that a refrigerator is fine. It did the job. It didn't leak. But after two seasons of tracking the Miata and feeling what a proper suspension could do, I'd started noticing the GTI's body roll more. The way the nose lifted under acceleration. The way the rear squatted when I had three bags of mulch in the hatch. None of it was broken. All of it was starting to annoy me.
I chose the Bilstein B14 kit for three reasons:
No damping adjustment. I know this sounds like a downside, but I've spent enough time chasing rebound settings on the Miata's MCS singles to know that I don't want another variable to obsess over. Bilstein's fixed valving is well-regarded, and Reg — who has opinions about everything — said "Bilstein gets it right" without me asking. That's a five-word endorsement I trust.
Modest drop. The B14 kit lowers the GTI about 30–40mm, which closes the wheel gap without turning the car into a speed bump detector. I still need to get into the Publix parking lot without scraping.
Price. $1,049 shipped from FCP Euro. Not cheap, but not Ohlins money either. The Miata's MCS singles cost nearly twice that, and this is my daily driver, not my track car.
The Tools I Used (And What I Was Missing)
Here's the honest tool list. Not the "recommended" list — the actual list of what I had:
Tool | Had It? | Notes |
|---|---|---|
Floor jack (2-ton) | Yes | Harbor Freight, works fine |
Jack stands (pair) | One | The other was under the Miata. Borrowed from neighbor Dave |
Spring compressor (external) | Yes | Rented from AutoZone, deposit returned |
Torque wrench (1/2") | Yes | 25–250 ft-lb range |
Triple square bit set (M10, M12, M14) | Yes | VW uses triple square fasteners. You need these |
Strut spreader tool | No | Used a 1/4" socket extension instead. It worked. Mostly |
Impact gun (electric) | Yes | Not essential, but saved an hour |
Penetrating fluid | Yes | PB Blaster, applied the night before |
Helper who knows what a 10mm socket is | No | Two children, maximum enthusiasm, zero tool identification skills |
The Install: A Step-by-Step Account (With Interruptions)
Step 1: PB Blaster, Patience, and a Pep Talk
The night before the install, I soaked every fastener I planned to touch with PB Blaster. The front strut pinch bolts. The rear shock lower bolts. The sway bar end links. All of it. If you do this job and skip this step, you will regret it. VW uses torque-to-yield fasteners on some of these connections, and after 60,000 miles of Alabama humidity, they don't want to move.
Max came into the garage while I was spraying and asked what I was doing. I said I was making the bolts less angry so they'd come out tomorrow. He said, "Bolts don't have feelings, Daddy." He's five. He's already more rational than me.
Step 2: The Front Struts (And the First Mistake)
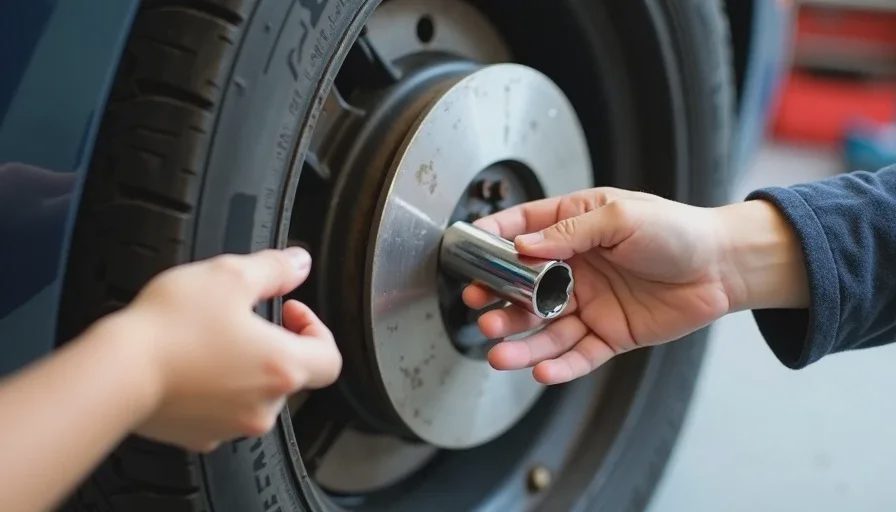
Saturday morning, 8:30 AM. I jacked up the front of the car, placed my one jack stand on the passenger side, and left the floor jack under the driver's side as a backup. This is not ideal. Use two jack stands. I know this. Dave was out of town and his other jack stand was in his locked shed. Do as I say, not as I did.
The front struts come out as an assembly — strut, spring, top mount. To remove them, you need to:
Remove the wheel (17mm lug bolts, torqued to 88 ft-lb going back on)
Disconnect the sway bar end link (16mm nut, 5mm hex to hold the stud)
Remove the strut pinch bolt (M14 triple square, torque to 70 Nm + 90° on reinstall — this is the one you want to replace, not reuse)
Remove the three top mount bolts under the hood (M10 triple square)
Spread the knuckle and slide the strut out
Step 5 is where I got stuck. The strut housing is clamped into the steering knuckle, and after 60,000 miles, it doesn't want to come out. A strut spreader tool is a wedge you insert into the knuckle to open the clamp slightly. I didn't have one. I used a 1/4" socket extension instead, tapping it into the slot with a hammer until the knuckle opened enough to wiggle the strut free. This took twenty minutes per side. A strut spreader costs $15. Buy one.
Max handed me a 13mm socket during this process. I asked for a 10mm. He said, "This one is bigger so it's better." I didn't notice until I tried to put it on the triple square bit and it didn't fit. We had a brief discussion about the importance of matching the right tool to the right fastener. He lost interest halfway through and went inside for a granola bar.
Step 3: Spring Compressors and the Angry Spring
With the strut assemblies out, I needed to disassemble them to reuse the top mounts and swap the springs. This requires a spring compressor. If you've never used one: it's two metal hooks on a threaded rod that clamp onto the spring coils. You tighten the rod to compress the spring, removing the tension from the top mount so you can unbolt it.
The stock GTI springs are under significant preload. I knew this intellectually. I still wasn't prepared for how much force it takes to compress them. By the third turn of the compressor bolt, my arm was tired. By the sixth, I was using both hands and bracing myself against the workbench. Max, who had returned with his granola bar, watched the spring compress and said, "Why is that spring so angry?"
"Because it's been holding up a car for six years," I said.
"Is it going to pop out and hit you in the face?"
"No, buddy. That's what the compressor is for."
He didn't look convinced. Neither was I.
Safety note I'm obligated to include: spring compressors store a lot of potential energy. Keep your face out of the line of fire. Wear safety glasses. If you're using external compressors like I was, make sure they're seated properly on the coils before you start tightening. If you can afford internal compressors or a wall-mounted unit, buy those instead. I can't. I used the rental ones. I still have all my fingers.
Step 4: Rear Shocks — The Easy Part
Compared to the front struts, the rear shocks are straightforward. Two bolts per side: one at the top (accessed through the wheel well, behind the fender liner) and one at the bottom (where the shock connects to the control arm). The stock rear springs are separate from the shocks — they sit in perches on the control arm — so there's no spring compressor needed. Just unbolt the lower shock mount, lower the control arm with the jack, and pull the spring out.
Lily helped with this part. She held the flashlight while I worked inside the wheel well. Her commentary, verbatim:
"It's dark in there."
"Is that a spider web?"
"I'm going to be an astronaut."
"Can we get ice cream after this?"
We got ice cream after this.
Step 5: Putting It All Back Together (Torque Specs Matter)
Reassembly is the reverse of disassembly, with one critical addition: all suspension fasteners must be torqued with the suspension loaded. This means you tighten the control arm bolts and shock bolts with the car's weight on the wheels, not hanging in the air. If you torque them with the suspension at full droop, the bushings will be pre-loaded at ride height, and they'll wear out prematurely. This is in the factory manual. A lot of people skip it. Don't be one of them.
Key torque specs for the Mk7.5 GTI:
Fastener | Torque |
|---|---|
Strut pinch bolt (new) | 70 Nm + 90° |
Strut top mount bolts | 15 Nm + 90° |
Sway bar end link nut | 65 Nm |
Rear shock lower bolt | 70 Nm + 180° |
Rear shock upper mount bolts | 50 Nm + 45° |
Lug bolts | 120 Nm (88 ft-lb) |
All torque-to-yield fasteners (the ones with the angle spec after the torque value) should be replaced, not reused. I bought a hardware kit from FCP Euro for $42. It includes all the single-use bolts. Buy it. Use it.
The Test Drive and the First Speed Bump
I finished the install at 3:30 PM. Jenn and the kids had been in and out all day — Lily providing commentary, Max providing incorrect sockets — and the garage looked like a parts explosion. But the car was back on four wheels, the ride height was even side to side (I measured), and nothing was leaking.
The first drive was a loop around the neighborhood at exactly the speed limit because I was terrified something would fall off. Nothing fell off. The car felt different immediately — not harsh, but firm. The body roll I'd been noticing was gone. Turn-in was sharper. The car went where I pointed it and didn't lean over like a canoe before committing to the corner.
The real test came two days later: the speed bump at the entrance to Lily's school. The stock suspension handled it with a soft compression and a gentle rebound. The B14s handled it with a single controlled motion — up, then down, then done. No bounce. No drama. Lily, from the back seat: "That wasn't bumpy." That's a five-star review from a seven-year-old.

The Spreadsheet: What It Actually Cost
Item | Cost |
|---|---|
Bilstein B14 coilover kit | $1,049.00 |
Hardware kit (single-use bolts) | $42.00 |
Strut spreader tool (I bought one afterward, learn from me) | $15.00 |
Spring compressor rental | $0 (AutoZone deposit refunded) |
PB Blaster | $6.99 |
Ice cream for two children | $8.50 |
Total | $1,121.49 |
For comparison: a set of lowering springs would have cost around $250 and kept the stock struts. But at 62,000 miles, the stock struts were due for replacement anyway. The coilover kit replaced everything — struts, springs, and mounts — with a matched set. If you factor in the cost of new OEM struts ($600–$800 for all four), the coilovers aren't that much more expensive. They're just more work to install.
Three Things I'd Do Differently
Buy the strut spreader before you start. I spent 40 minutes fighting the front struts out of the knuckles because I was too stubborn to drive to the parts store. A $15 tool would have saved me half that time and a bruise on my palm.
Label your bolts. When you remove the top mount bolts and the strut pinch bolts, put them in separate bags and label them. I mixed up the old and new hardware at one point and spent ten minutes matching bolts to their holes. This is a stupid mistake that's easy to avoid.
Don't let a five-year-old hand you sockets. Max's intentions were good. His socket identification skills were not. I love him. I'm buying a tool cart with a lock.
Is It Worth It? The Daily Driver Question
This is the question I get asked every time I mention coilovers on a daily driver: "Does it ruin the ride?" The answer is: it changes the ride. Whether that counts as "ruining" depends on what you want from the car.
The B14s are firmer than stock. You feel expansion joints more. You notice potholes that the stock suspension would have rounded off. But the car also feels more connected to the road — less floaty, more precise. For me, that's a trade worth making. If your priority is maximum comfort, keep the stock suspension and replace the struts with OEM equivalents when they wear out. If you want the car to feel more like a hot hatch and less like a comfortable commuter, the coilovers deliver.
After a month of driving on the B14s, I took the GTI to Barber for a track day. The difference was more dramatic than I expected. The car rotated better through Turn 5. It didn't understeer as much through Turn 14. The lap times didn't change much — maybe half a second — but the car felt more willing, more eager. That's worth more than lap time to me.
And the kids? Lily still asks about the "angry spring." Max has moved on to asking about the exhaust. The garage is back to its usual state: one car on jack stands, two bikes leaning against the wall, and a spring compressor waiting to be returned to AutoZone. Some things change. Some things don't.
Have you installed coilovers on your daily driver? How did it go — and more importantly, how many incorrect sockets did your children hand you? Reply and tell me. I'm collecting data on both.


No letters yet — pray write the first.