Last Saturday, I watched a guy spend ten minutes circling a 1967 Mustang with his phone held at chest height. He took 23 pictures. Every one had the same problem: bright sky, dark car, and a crowd reflected in the paint. That is where car show photography gets real. The car is not hard to find. The hard part is showing somebody why it deserves a second look.
I used to sell cars, so I learned quickly that presentation changes what people notice. A clean hood under good light can make a tired vehicle look respectable. The same vehicle under a parking-lot lamp can look like it needs a loan. You do not need a full-frame camera or a bag of lenses. You need to control your position, watch the light, and stop taking the same picture from the same height.
Start with the light and the background
The easiest improvement in car show photography is moving before you press the shutter. Look at the car from the front, rear, and both corners. Then look behind it. A bright orange traffic cone, a trash can, or a stranger’s legs can pull more attention than the grille. Take three steps left and the background might clean itself up.
Morning and late afternoon usually give you softer light than midday. At noon, the roof can be nearly white while the side of the car falls into shadow. If you are using a phone, tap the brightest painted area on the screen and lower exposure slightly. That protects highlights in white paint and chrome. A picture that is a little dark can be fixed. A blown-out reflection is gone.
Cloudy weather is not a disaster. It acts like a large softbox and reduces hard shadows across the hood. On sunny days, use the car’s own shape. Shoot from the shadow side if the bright side is too harsh, or wait for a cloud to cover the sun. Do not use the pop-up flash. It creates a flat glare and a bright rectangle in the paint.
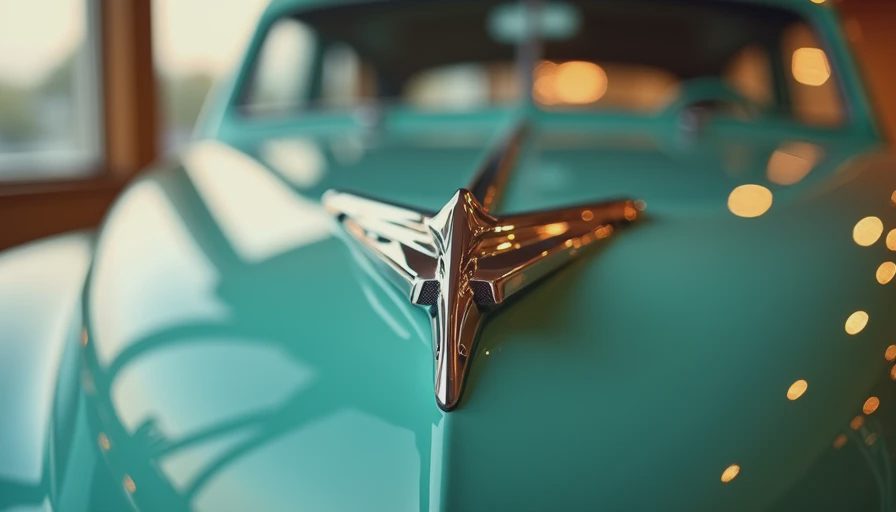
The background matters even more with dark cars. Black paint reflects everything, including you. Wear a plain shirt if you plan to photograph close details, and check the reflection before shooting. For a clean side profile, kneel slightly so the horizon does not cut through the windows. Keep the camera level unless you deliberately want a dramatic angle.
Choose angles that explain the car
A front three-quarter angle is popular because it shows the grille, headlights, wheel, and side profile at once. It is a useful starting point, but do not stop there. A low angle can make a classic truck look substantial. A higher angle can show a convertible’s interior or the layout of an engine bay. Stand close for details, then back up far enough to show the whole vehicle without cutting off a bumper.
For car show photography, details tell the story. Photograph a manufacturer badge, unusual dashboard, stitched seat, period-correct radio, or a clean set of wheels. If the owner has an information card, capture that separately so you remember the year, engine, and restoration notes. A beautiful image without context becomes difficult to identify later.
Use the camera grid if your phone has one. Keep vertical lines on the car straight, especially with doors and windshields. Wide phone lenses can stretch the nearest corner, so do not hold the lens inches from the front bumper. Move back and zoom slightly if your phone has a decent optical lens. The proportions will look more natural.
Work around crowds without being a nuisance
A car show is a public event, not your private studio. People will walk in front of the car. Kids will point at the engine. Owners will answer questions. That is normal. Wait ten seconds instead of stepping into somebody’s conversation with your camera raised.
If you want a clean shot, ask politely whether the owner can give you a moment. Most owners understand. Do not touch the vehicle, lean on a fender, or open a door without permission. Ask before photographing a person closely, too. A wide crowd scene is different from a tight portrait of somebody standing beside a car.
Watch your bag and camera strap. I have seen straps drag across paint and trip people in narrow aisles. Keep one hand free, use a wrist strap, and step backward carefully after checking the frame. The best car show photography in the world is not worth damaging somebody’s freshly polished quarter panel.
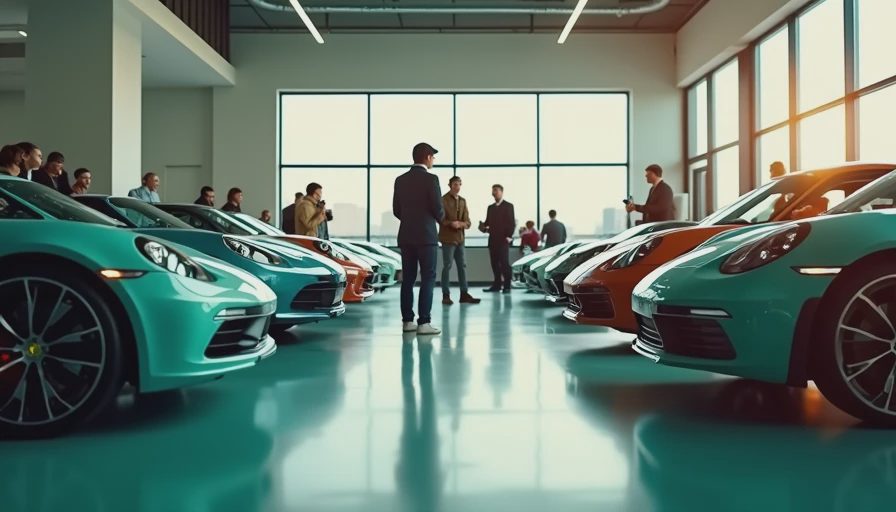
If the show has an indoor section, give yourself extra room. Fluorescent lights can create green or blue color shifts, and shiny paint can mirror the ceiling. Take one test image, inspect the color, and adjust your phone’s white balance or use a neutral editing preset later. Do not apply a heavy filter that turns chrome orange or makes a red car look fluorescent.
Simple camera settings that make a difference
If you use a dedicated camera, start with aperture priority around f/5.6 to f/8 for a full-car image. That gives you enough depth of field to keep the nose and rear quarter reasonably sharp. For an emblem or interior detail, f/2.8 to f/4 can separate the subject from a messy background, but focus carefully.
Keep shutter speed at least 1/125 second when people are moving around you. If the car is stationary and you are steady, 1/60 can work, but a small movement can soften chrome lettering. Auto ISO is fine in changing light. A sharp image at ISO 800 is more useful than a blurry image at ISO 100.
Your phone already handles most of this automatically. Clean the lens before you begin. That sounds minor, but fingerprints turn bright highlights into fuzzy halos. Lock focus on the car, lower exposure when chrome is too bright, and take a second frame after changing your position. Storage is cheap. Repeating a missed shot at home is not possible.
Edit with restraint and keep the story
Editing should correct the picture, not rebuild the vehicle. Crop out distracting people, straighten the horizon, lower highlights, and add a small amount of contrast. If the paint looks dull, increase saturation carefully. Two or three points can help. Thirty points makes the car look like a video-game prop.
Save the original file before cropping. A square image may work for social media, while a wide image may work better for a blog or printed club newsletter. Name files with the year, make, model, and show location if you know them. “IMG_4832” will not help you identify a 1970 Chevelle six months from now.
Strong car show photography also includes notes. Write down the owner’s name only with permission, the vehicle’s year, engine, and any unusual history. A short caption such as “1972 Datsun 240Z, owner-restored over four years” gives the picture a reason to exist. It tells the viewer what they are looking at instead of making them guess.
A practical plan for your next show
Arrive early enough to walk the grounds before the aisles fill. Use the first pass to find interesting cars and the second pass to take deliberate pictures. Shoot one full-car frame, one front three-quarter frame, one rear or side frame, and three detail images. Then move on. You do not need 40 nearly identical shots of the same hood.
Before leaving, review a few images at full size. Check for closed eyes, soft focus, cut-off tires, and reflections of strangers. If a key image is weak, take it again while the car is still there. Back at home, choose the best three rather than posting everything. A small set of clean photographs beats a flood of duplicates.
That is the whole trick with car show photography: pay attention before the shutter button. Find better light, remove distractions, show the details, and respect the person who owns the car. Next time you walk into a show, put your phone away for the first five minutes. Look at the cars with your eyes. Then choose one subject, move your feet, and take the picture that explains why you stopped.
No letters yet — pray write the first.