Last Saturday, a neighbor pulled his black Silverado into my driveway and asked why his online listing looked flat. The truck was clean. The tires were aired up. The photos still made it look like it had spent six months behind a used-car lot. I walked around it with him for ten minutes and showed him a few auto photography techniques that cost nothing but changed the whole presentation.
You do not need a $2,000 camera, a studio, or a drone. You need clean glass, decent light, a steady hand, and enough patience to move six feet before pressing the button. The goal is not to make a worn vehicle look new. The goal is to show the car honestly while making it easy for a buyer to imagine owning it.
Start with the car, not the camera
The first of the useful auto photography techniques happens before you take a single picture. Wash the vehicle, dry it completely, clean the windows, and remove the child seats, fast-food bags, floor mats, and personal paperwork. A $12 car wash and a $6 pack of microfiber towels can do more than upgrading from a phone to a mirrorless camera.
Pay attention to details the camera exaggerates. Dust sits along the rear hatch seam. Fingerprints show on black paint. A cloudy headlight looks worse in a close image than it does in person. Wipe the tires, but do not drown them in shiny dressing. Excess product can sling onto the fenders and make the truck look neglected after one drive.
Park somewhere quiet with room around all four sides. A crowded apartment lot gives you crooked backgrounds, random people, and parked cars competing with your subject. A plain driveway or empty section of a parking lot usually works better. Turn off the engine before shooting so the exhaust is not visible on a cold morning.
Use light that tells the truth
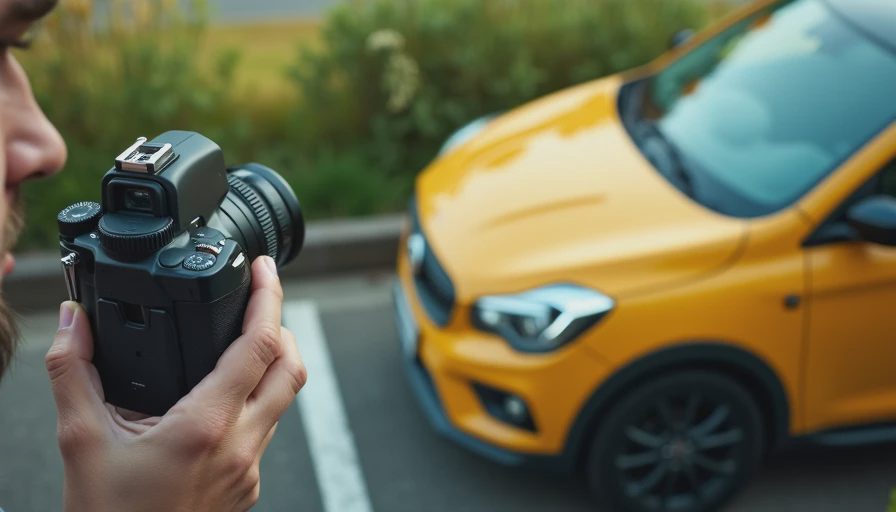
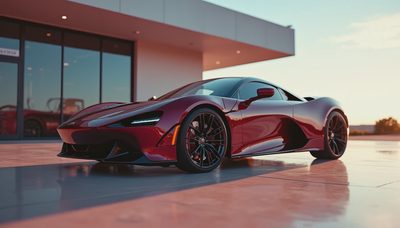
Harsh noon sunlight is a rough choice. It creates bright reflections on the hood, dark shadows under the doors, and a sky that overwhelms the paint color. One of the simplest auto photography techniques is to shoot during the hour after sunrise or before sunset, when the light is softer and the reflections are easier to control.
You can also use open shade. Park near a building or under the edge of a large tree, but watch for leaves and branches reflected in the windshield. Keep the car facing the brighter part of the sky. That gives the body panels enough light without putting a hard black shadow across the side.
Your phone will try to brighten the entire frame. Tap the screen on the car, then lower exposure slightly if the white paint looks blown out. On an iPhone, slide the sun icon down a little. On an Android phone, use the exposure control. Take one test shot and check the headlights, chrome, and windshield. If those areas are just white patches, move or lower the exposure.
Do not use the flash for exterior photos. It makes the paint look greasy and turns the background into an afterthought. For interior pictures, open the doors, switch on the cabin lights, and let natural light do most of the work.
Find the angle that sells the shape
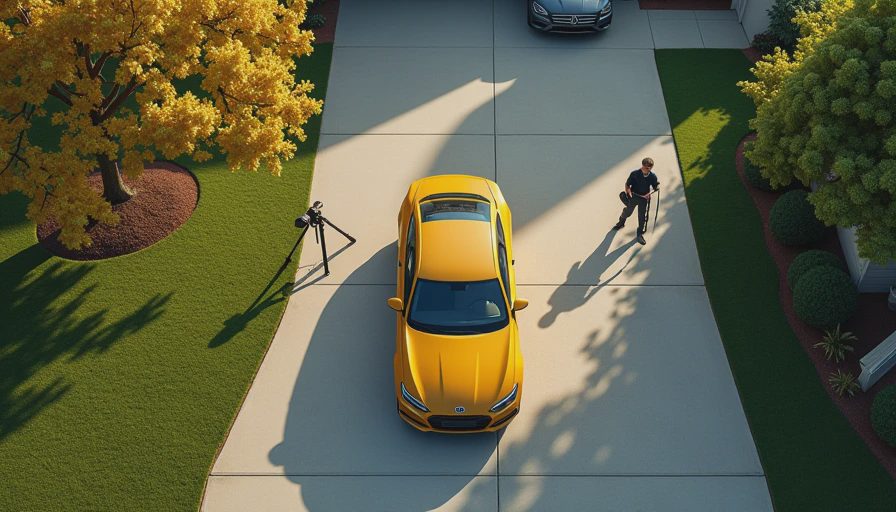
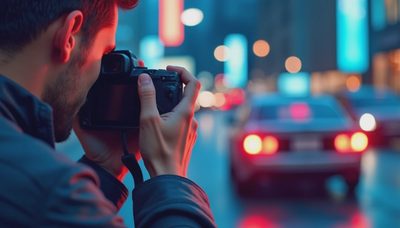
A straight side photo is useful, but it rarely makes a car look appealing. Stand at the front corner and turn the wheels slightly toward the camera. Lower the camera to about headlight height. This gives the vehicle a planted stance without creating the exaggerated, cartoonish look caused by shooting from the ground.
Three-quarter views are among the most reliable auto photography techniques because they show the front, side, wheel, and roofline in one frame. Take one from the front driver-side corner and one from the rear passenger-side corner. Keep the camera level. If vertical buildings in the background lean inward, your phone is pointed up or down.
Leave a little space around the vehicle. Do not crop the bumper, mirror, or tires unless you are deliberately making a detail image. Step back instead of using heavy digital zoom. Digital zoom throws away image information and makes paint defects look like smeared shadows.
The camera should sit around the center of the car, not above the roof. A high angle can make the hood dominate the photo. A very low angle hides the roof and makes ordinary vehicles look awkward. You are trying to give a buyer the same useful view they would get while standing in the driveway.
Build a complete photo set
A strong listing needs more than one handsome front-corner shot. Photograph the odometer with the ignition on, the tire tread, the engine bay, the cargo area, and each wheel. Capture the driver seat, rear seat, dashboard, center console, and any warning lights. If there is a dent, cracked trim piece, curb rash, or stained carpet, photograph it clearly.
That last part matters. Hiding a $300 bumper scrape does not create a better sale. It creates a buyer who feels misled after driving across town. Honest auto photography techniques reduce wasted appointments because shoppers know what they are coming to see.
Take a separate image of the VIN plate if you plan to share it with serious buyers, but cover personal registration details and your home address. Do not photograph paperwork with insurance policy numbers, loan account numbers, or phone numbers visible.
For a normal used-car listing, 20 to 30 useful images is plenty. Put the strongest exterior image first. Follow with front, rear, both sides, interior, mileage, tires, engine bay, cargo area, and defects. The order should answer the buyer's questions before the buyer has to ask them.
Edit carefully and write the right caption
Basic editing is fine. Straighten the frame, crop empty pavement, lift a dark shadow, and correct an overly blue or yellow color cast. Avoid filters that turn red paint orange or make the sky look like a video game. If the vehicle looks different in person, you have edited too far.
Use descriptive captions rather than sales fog. Write, “Small scrape on the rear bumper, shown in photo 18,” not “minor imperfection.” Mention the mileage, tire condition, service records, and whether both keys are included. A buyer can forgive a flaw more easily than a surprise.
These auto photography techniques also help with insurance documentation. If you are recording your vehicle's condition after a repair or before a long trip, include wide shots that show location and close shots that show the detail. Add the date to your notes, but do not rely on a photo timestamp as your only record.
Your five-minute driveway checklist
Before you post the listing, walk around the car with your phone and check five things. Is the lens clean? Is the background free of clutter? Are the wheels and full vehicle inside the frame? Is the light showing the paint instead of hiding it? Have you photographed the flaws as clearly as the good parts?
Then compare the first photo with the tenth. If they all look like the same angle, take two steps to the side and shoot again. If the car appears smaller than the background, move closer while keeping the entire vehicle visible. If you cannot tell whether the dashboard warning light is on, retake that image in better light.
You do not need to sound like a dealership photographer. You need a clean record and a buyer who trusts what he sees. I used to train salespeople to present the shiny side first and answer questions later. That was the job. Now you know better. Clean the car, find open shade, shoot level, show the defects, and review every frame before publishing. Those are the auto photography techniques that put the useful information on the screen instead of hiding it behind a filter.
No letters yet — pray write the first.