Last Saturday, a neighbor showed me pictures of a used Tacoma he planned to list online. The truck looked sharp, but the driver’s side was so dark you could not see the dent near the rear door. He had not meant to hide it. He had just taken the photo under a tree and brightened the wrong part. That is why learning how to edit car photos matters. A good edit helps a buyer see the vehicle clearly. A bad one turns a normal listing into a trust problem.
You do not need a $1,200 camera or a computer full of complicated software. Your phone, a clean lens, and a few careful adjustments will handle most jobs. The rule is simple: improve the picture without changing the truth of the car. That matters when you are selling, documenting existing damage, or sending photos to an insurer after a claim.
Start with a clean, honest original
Before you open an app, take better source photos. Wipe the phone lens with a shirt or microfiber cloth. Park in open shade, not direct noon sunlight. Bright sun creates hard reflections on the hood and windshield, while deep shade can erase scratches and dents. A driveway or empty parking lot works better than a crowded street.
Take one photo from each corner, then add straight-on shots of both sides, the front, the rear, the odometer, the tires, and any damage. Hold the phone around chest height. Keep the car level in the frame instead of pointing down from above. For an insurance record, include a wider photo showing where the car is parked and closer images showing the damage itself.
If you are wondering how to edit car photos, begin by protecting the originals. Create a folder called “Originals” and do not overwrite those files. Make a second copy for editing. The original proves what the camera saw. The edited version is for presentation, not for rewriting history.
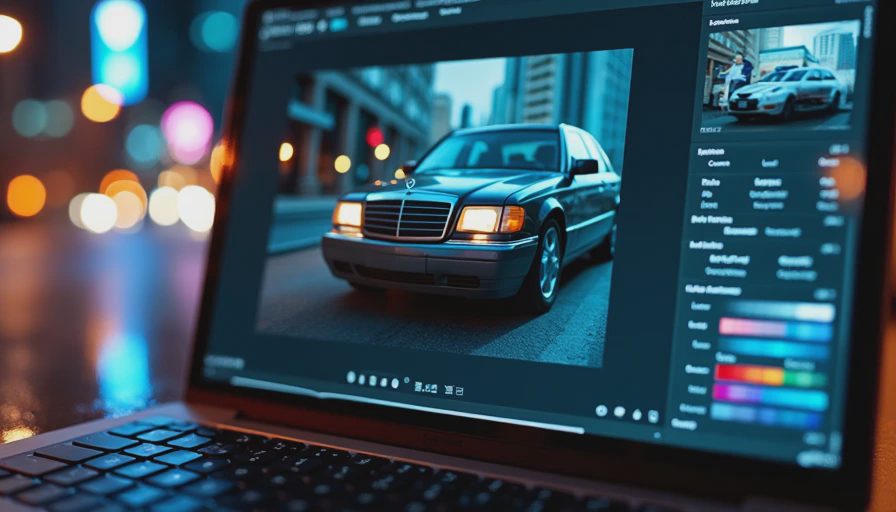
How to edit car photos on your phone
Snapseed, Lightroom Mobile, and Photoshop Express can all handle the basics. You can use the built-in Photos app on an iPhone or Google Photos on an Android phone, too. The buttons have different names, but the useful controls are nearly the same.
First, crop out empty pavement, trash cans, and half of another vehicle. Leave enough space around the car so the image does not feel cramped. Use the straighten tool next. A tilted horizon makes a vehicle look like it is leaning, even when the car is perfectly fine.
Now adjust exposure in small steps. If the entire image is dark, raise exposure slightly. Then lower highlights if the sky or white paint looks blown out. Lift shadows just enough to reveal the wheel wells and door panels. Keep contrast modest. Too much contrast makes black paint look glossy and can hide a crease.
Color temperature is another useful control. A photo taken under blue shade can make white paint look gray. A warm adjustment can bring it closer to what your eyes saw. Stop before the car turns cream-colored. Saturation should usually stay near its original setting. A red SUV does not need to become fire-engine red to sell.
Fix reflections, glare, and distracting backgrounds
Reflections are part of photographing a car. You will see the house, your shirt, power lines, and the sky in the paint. Do not clone out a reflection that covers a scratch or dent. Instead, retake the picture from a slightly different angle. Move two feet to the left, lower the phone, or wait for softer light. A change in position often solves what a healing brush cannot.
If a license plate is visible, you can blur or cover it for a public listing. That is a privacy choice, not a way to conceal vehicle identity from an insurer. Leave the plate readable in private documentation if the adjuster requests it. Never remove a VIN from a claim photo when the number helps establish which vehicle is involved.
Background cleanup is fine when it removes clutter, but do not add a fake location or make a car appear newer than it is. A clean driveway is honest. A digital luxury garage is theater, and buyers notice when the shadows do not match.
The practical answer to how to edit car photos is restraint. If you cannot explain an adjustment in one sentence, you probably do not need it. “I brightened the shadows” is easy to defend. “I erased the rust and replaced the sky” is not.
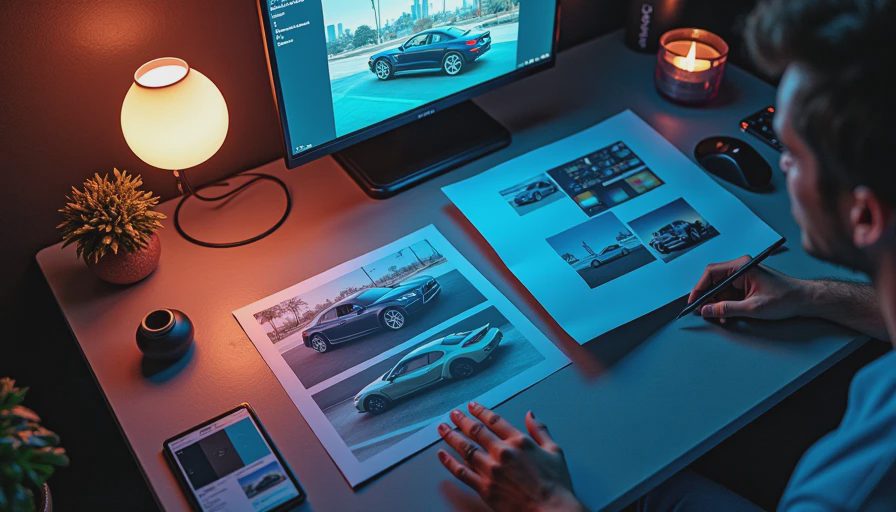
Edits that can create trouble with a buyer or insurer
There is a line between correction and deception. Do not remove dents, curb rash, cracked glass, warning lights, stains, rust, or uneven panel gaps. Do not use a blur tool to soften a scratch. Do not stretch the vehicle to make it look longer, lower, or wider. Those changes can lead to a disappointed buyer, a canceled deal, or questions during a claim review.
Insurance photos have a different job from sales photos. An insurer needs evidence of condition, location, and damage. Keep the date and original file information when possible. Take a fresh set after an accident, and photograph broken parts before removing them. If a tow company or repair shop has possession of the vehicle, record the damage from several angles before the condition changes.
For a classified listing, you can make the car easier to judge. Brighten a dark interior, correct a crooked frame, and reduce empty space. You can also add a second image with close-ups of flaws. A buyer who sees a $300 bumper scrape before driving across town is far more useful than one who feels tricked in your driveway.
A simple editing routine that works
Here is the routine I use. Import the copy, crop it, straighten it, and make small exposure and shadow adjustments. Check the paint against a real view of the car. Zoom out to thumbnail size because that is how most shoppers first see the image. Then compare the edited picture with the original side by side.
If the edited image makes damage harder to see, back off the adjustment. If the paint color looks different from the car parked outside, back off again. Export a high-quality JPEG, but keep the original file in a separate folder. For a listing, use a consistent look across all photos instead of making one dramatic hero shot and ten dull ones.
When someone asks how to edit car photos for social media, the same rule applies. A little brightness and straightening make a post cleaner. Heavy filters make the vehicle look artificial and can create questions you did not need.
The next step before you post
Open your phone’s photo app and make three folders: Original Photos, Edited Listing, and Damage Records. That costs nothing and saves you from hunting through 400 screenshots later. Take the car outside, clean the lens, and photograph the flaws before you touch an editing slider.
Then make one careful edit and ask a plain question: does this show the car more clearly, or does it make the car look better than it really is? If the answer is the second one, undo it. Use how to edit car photos as a way to improve communication, not disguise a problem. Show the clean side, show the damaged side, and let the person looking at the picture make an informed decision.
I told you what they told me to say. Now you know. Before you post the listing or send pictures for a claim, compare the edited files with the originals and make sure every important detail is still visible.
No letters yet — pray write the first.